Sunday, December 13, 2009

Holiday Mugs


I made these cute holiday mugs for my co-workers this afternoon and I think they turned out so... cute. I used a variety of snowpeople, penquins and snow angels for my focal image colored with Copics then mounted them on the snowman soup poem. In the mug (from Michaels) I put a pkg. of cocoa, pkg. of minature marshmallows, a few chocolate kisses, a dessert stir stick and a candy cane. Ran some curling ribbon through the poem and curled the ribbon. I am pleased with how they turned out. Thanks Pat for letting me "case" this idea. Tell me what you think.

Tuesday, December 01, 2009

Snowman Nativity


I mentioned in last posting that my friend Shelley was coming over to finish up her Christmas cards well here is a sample of her finished product. We used the Snowman Nativity which is one of my all time favorites as I love snowmen images. Colored with watercolor pencils (I think this is one of the easiest coloring techniques to show a "newbie"), of course some stickle on the snow and who can't live without the new stardust pen for highlights. We found this ribbon while shopping at Archivers a couple of weeks ago and it matches perfect with the green/maroon hues. I also scanned the inside of the card and it completes the story of Christmas. When we started this project a couple of weeks ago she came over and I had several of my Christmas cards out for her to view and perhaps "case" and so I have to give credit to one of my downlines Donna as this is her idea - we just changed a couple of things to make it Shelley's own.

Monday, November 30, 2009

Vintage Santa


Can you believe this is the first time I have used this stamp set - Vintage Santa - love it - minimal coloring - well in fact just his pink cheeks and a red pearl on his holly. I love this paper which was discontinued with last catalog but it has such a vintage feel that I hated to see it go. Had to play with my new toy from Tonic - a border punch system which you can interchange multiple punches for your border - this happens to be a ribbon punch and I am having a lot of fun using this system. Some polka dot ribbon goes perfect with the paper and presto a super easy card and fun to make. Tomorrow a friend Shelly is coming over to "finish" up her cards - a newbie stamper - they are so much fun to watch when they have created a "masterpiece".

Tuesday, November 17, 2009

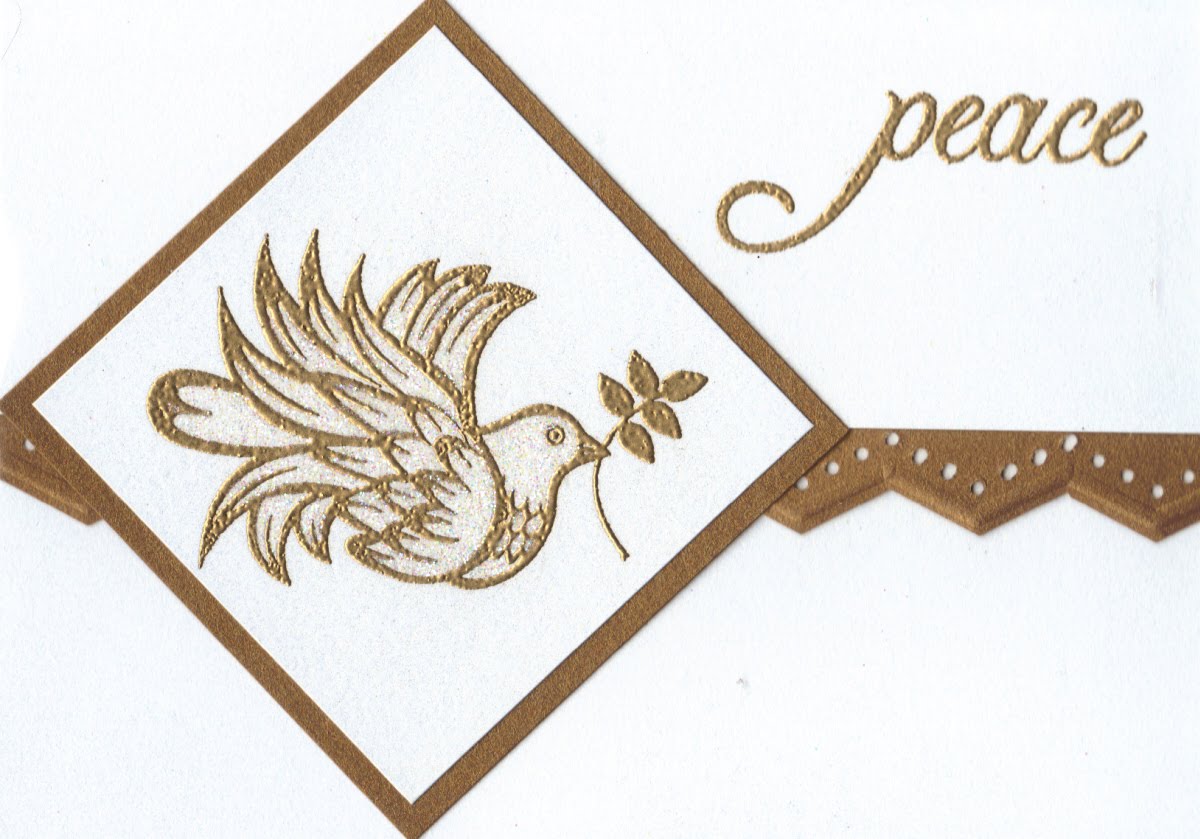
Peace


This is my Christmas card I made for our monthly swap group - simple yet elegant. I used the Peace set from TAC embossed in gold and the dove is entirely glittered with prisma glitter. Gate fold card using a shimmer white and shimmer gold cs from Archivers which added richness to the card. I used my MS punch for the edging. What a wonderful swap this was. Yearly we invite the subs to participate with us and the ideas are amazing. This year was no exception.

Sunday, November 15, 2009

November Blog Hop


Our goal this month was to post cards/tags that can be made in under 10 minutes - now that is my kind of project!!! Both of my cards that I have posted here are very quick, easy and of course cute!!!
The first one I used gold shimmer cardstock from Archivers ran through my cuttlebug with the music embossing folder. I used the Oh Holy Night from the Good Tidings set embossed in gold, punched with scallop circle and pop dots to raise it off the music a bit. A simple gold sheer bow (using the bow easy) just made this card complete.
My second card is a fun one and can be adapted for any occasion. I used an 8 1/2 x 11 scarlet cs cut at 4 1/4 scored and folded in half. I then cut a piece of Reece DP (has such a Christmas look) to 4 1/2 x 4 and glued on the front right of the card. I used a 1 1/2 inch circle punch and punched through both the DP and red cs,leaving a viewing circle. I punched a 1 1/4 circle from white and stamped this cute little snow girl (this was a LE from several years ago) and colored her very quickly with copic markers. Again tied a red sheer ribon around the front and then for my embellishments I used the little dots at the bottom of the 12 x 12 DP punched and glued on the side with just a nailhead on top. Again an easy peasy but cute card. You can use a snowflake punched out of glitter cardstock in the opening for another quickie.
Now hop on over and see what the other girls have made for their 10 min. and under collection.
Laurie W.
Teresa
Jamie
Diane
Jen
Rita
Kim
Laurie U.
Kay
Melisa
Stacey
Thanks for stopping by!!!

Friday, November 13, 2009

Masking


At stamp club this week my friend Pat was the leader of the group and she did an old favorite (but seldom used for me at least) technique of masking. If you visit Pats blog she has some fantastic Blog Candy to give away so it is well worth the visit. Here is my take on the two cards similar to what we did at stamp club. The masked ornament was done using an ornament punch then stippled the ornament on white cs, stamped the stars with build-a-background stamp put a piece of gold cording and a gold pre-tied bow - greeting stamped at the bottom, corners punched with a cornerrounder/star punch and another easy peasy card. The blue card is done using Joyful Ornaments stamped on the square, masked then the script stamped over that - remove mask and another easy card. A blue sheer ribbon, message on the right side and card complete. Thanks Pat for revising this true favorite this week.

Thursday, November 12, 2009

Easy Scallop Heart Christmas Tree


This card has no stamping on the outside but I used TAC cardstock and red stickles so... This is one of those cards that you say "I wish I had thought of that" because I saw this made up at our local scrapbook store O'Dear What a Memory located between my hometown of Farmington Mo. and Ste. Genevieve, Mo. (where I grew up). The green cs was run through the cuttlebug with the swirls embossing folder, you then punch 3 sizes of scallop hearts. Run a small scrap of brown through the cuttle bug for the trunk. Use a piece of scarlet red cs cut at 3 3/4 and punch the holly Fiskars border punch along both edges. Now to make the tree, start at the bottom with the trunk, then the largest heart (inverted), on top of that the mid size heart and then the smallest heart. Put a star brad on top of the tree, decorate with stickles mount this on white base cs and a quick easy fun Christmas card is complete.